 |
JawnCon 0x3 Printable Badge CoverWe’re excited to provide the STLs for the printable badge shell for the JawnCon 0x3 badge. We’re excited to see what you do with them! What you need
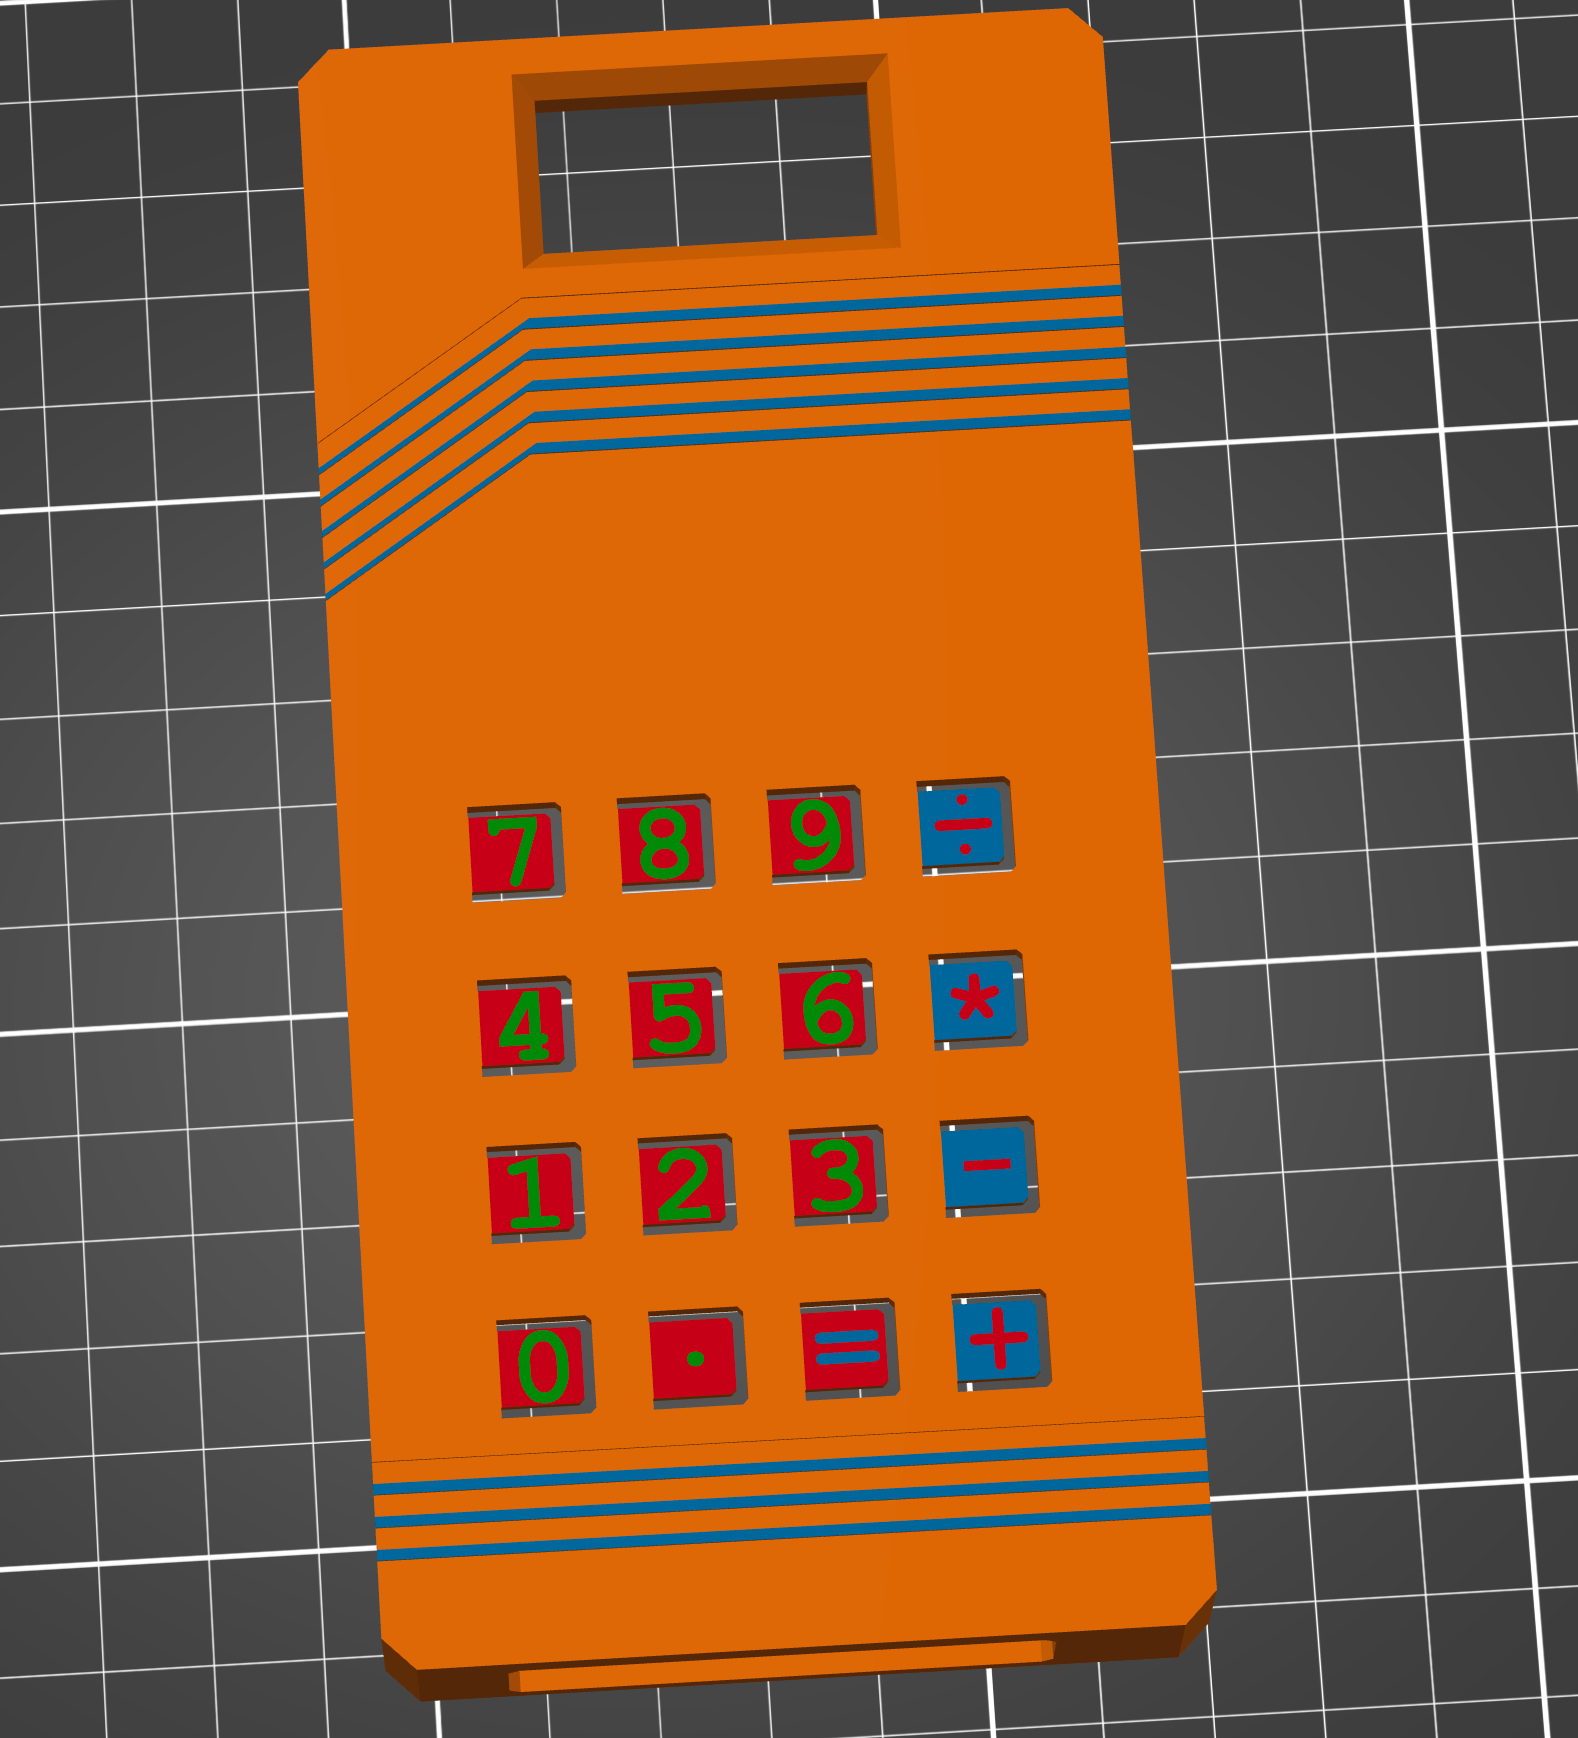
The filesThe front of the badge comes in two versions, depending on your printer capabilities.
The back of the badge is the same for all printers.
Printing the front of the badgeThe front of the badge should be printed face down on the print bed. No supports are needed!
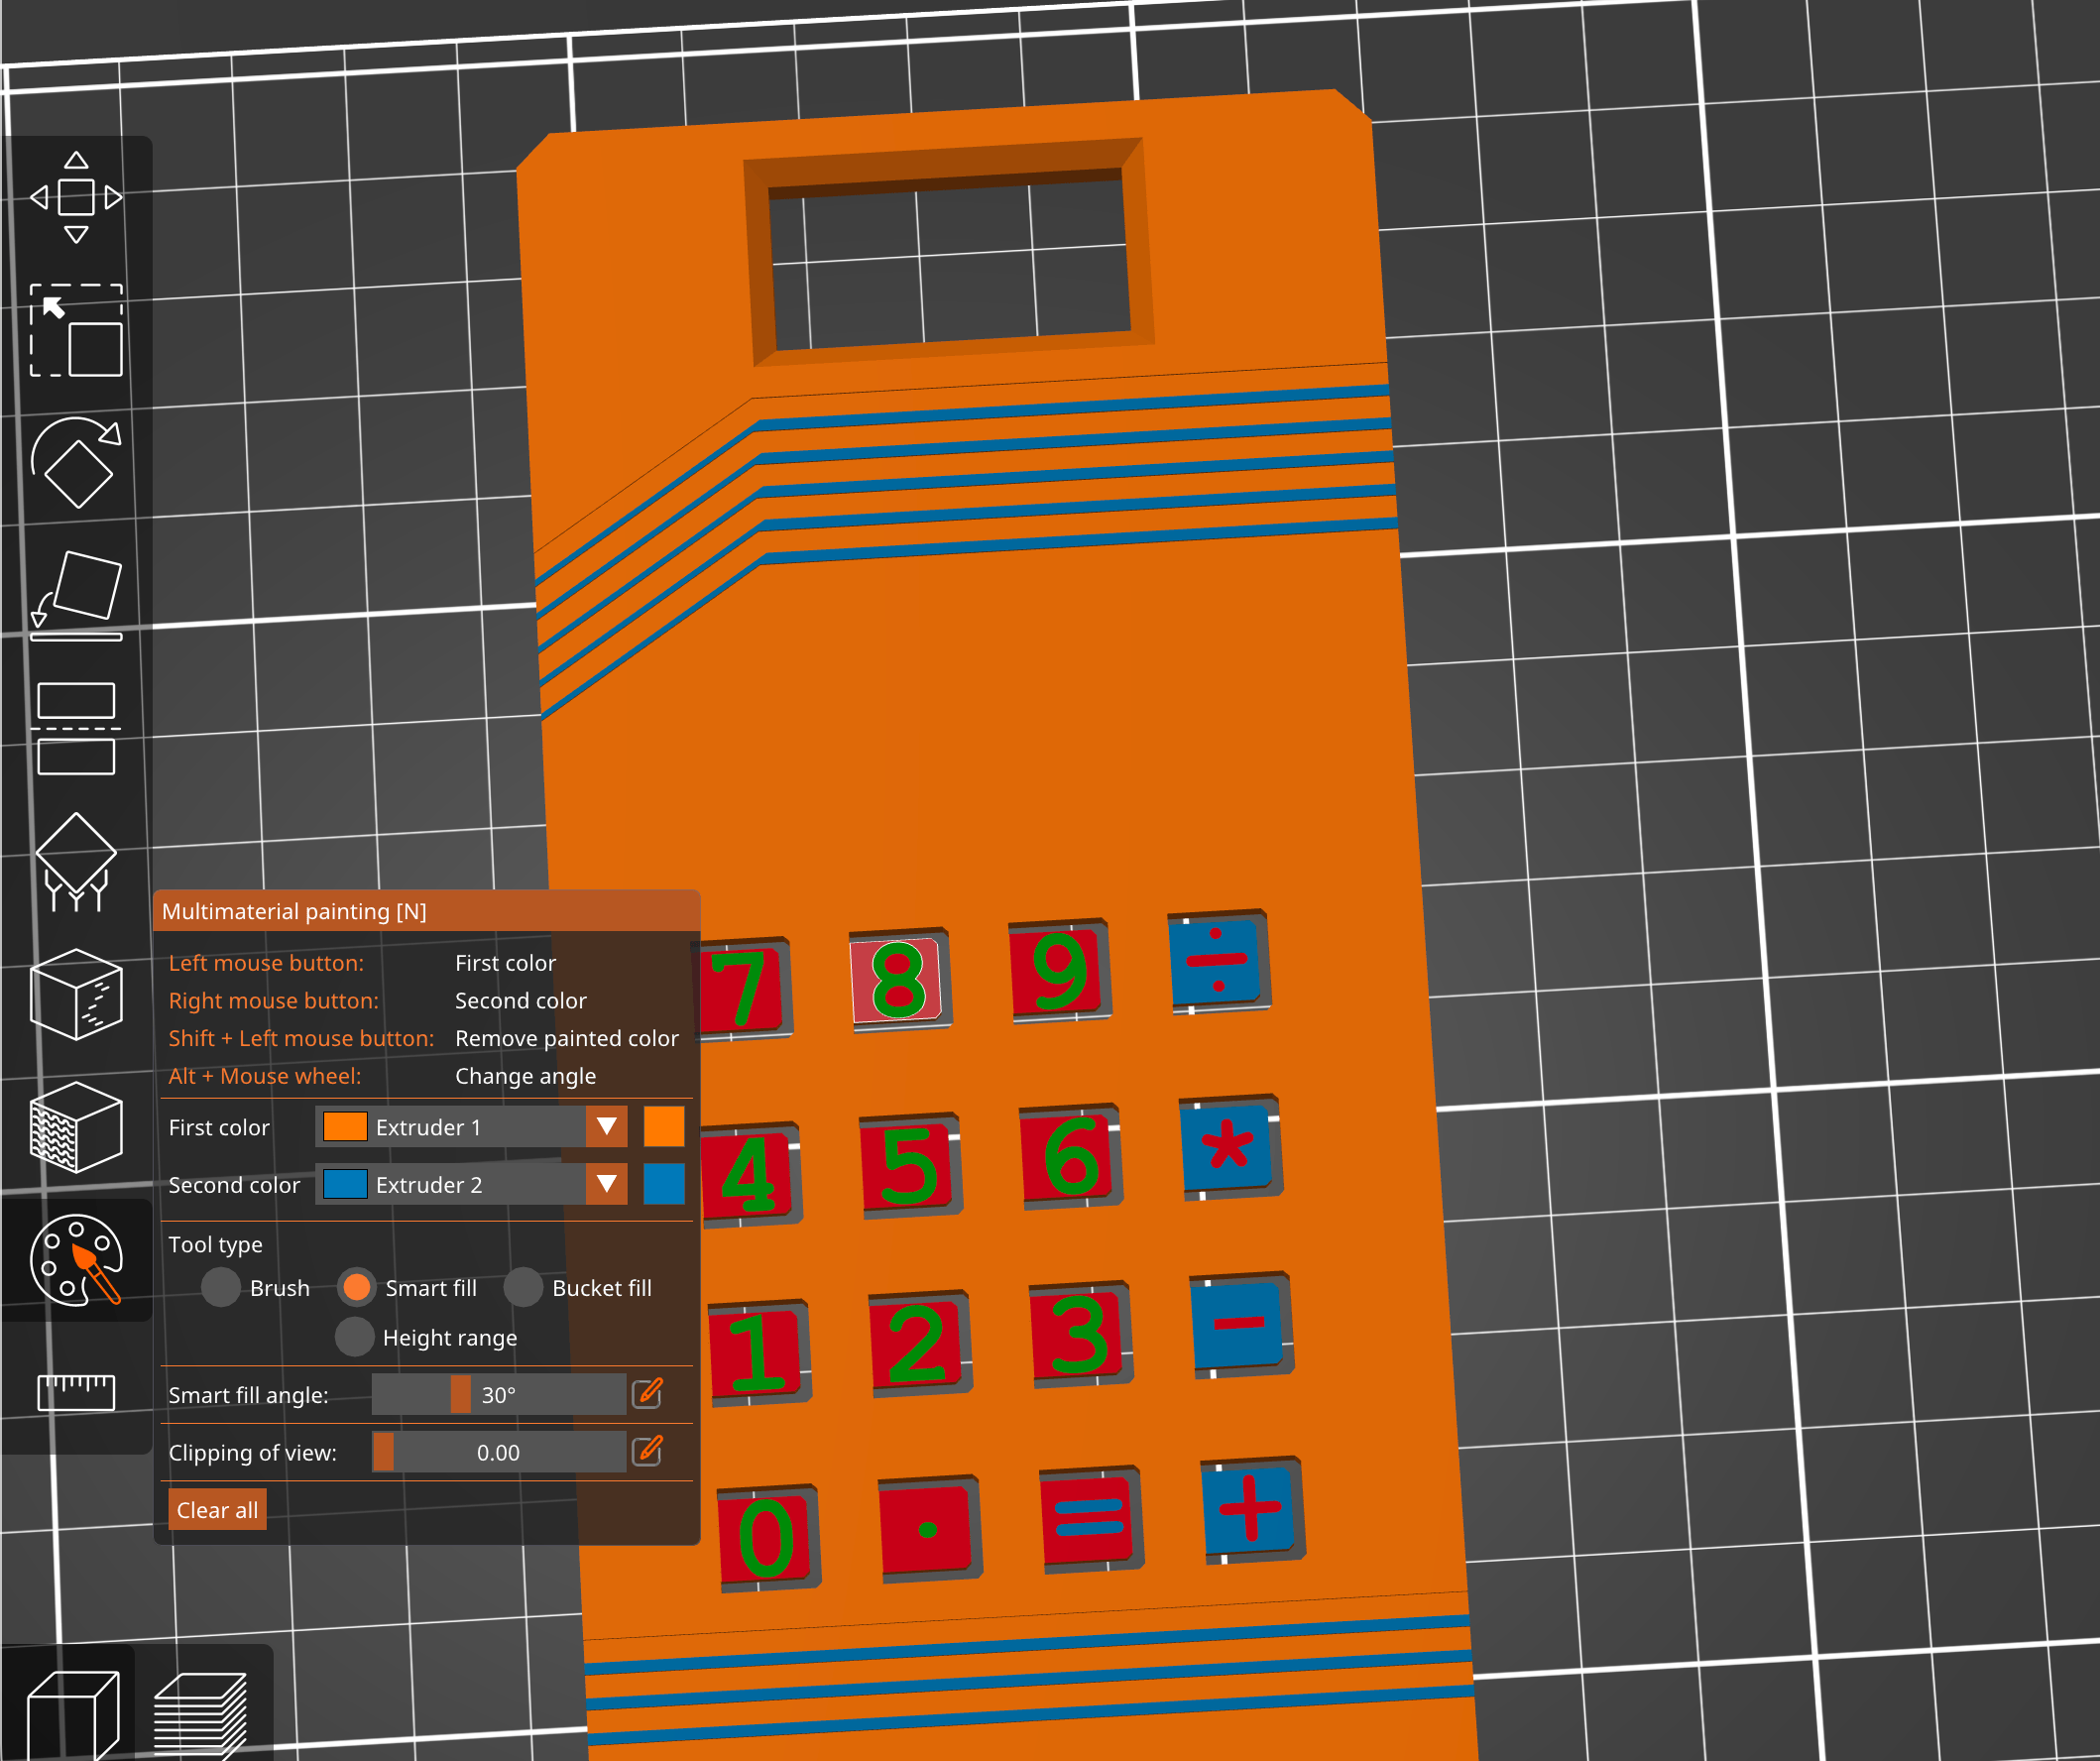
For a multi-color print, the features of the badge are included in the STL. We recommend using the “Smart Fill” feature found in most slicers to apply different colors.
The features are designed to print smoothly against the bed, but if you hover over them, you’ll be able to target them with smart fill!
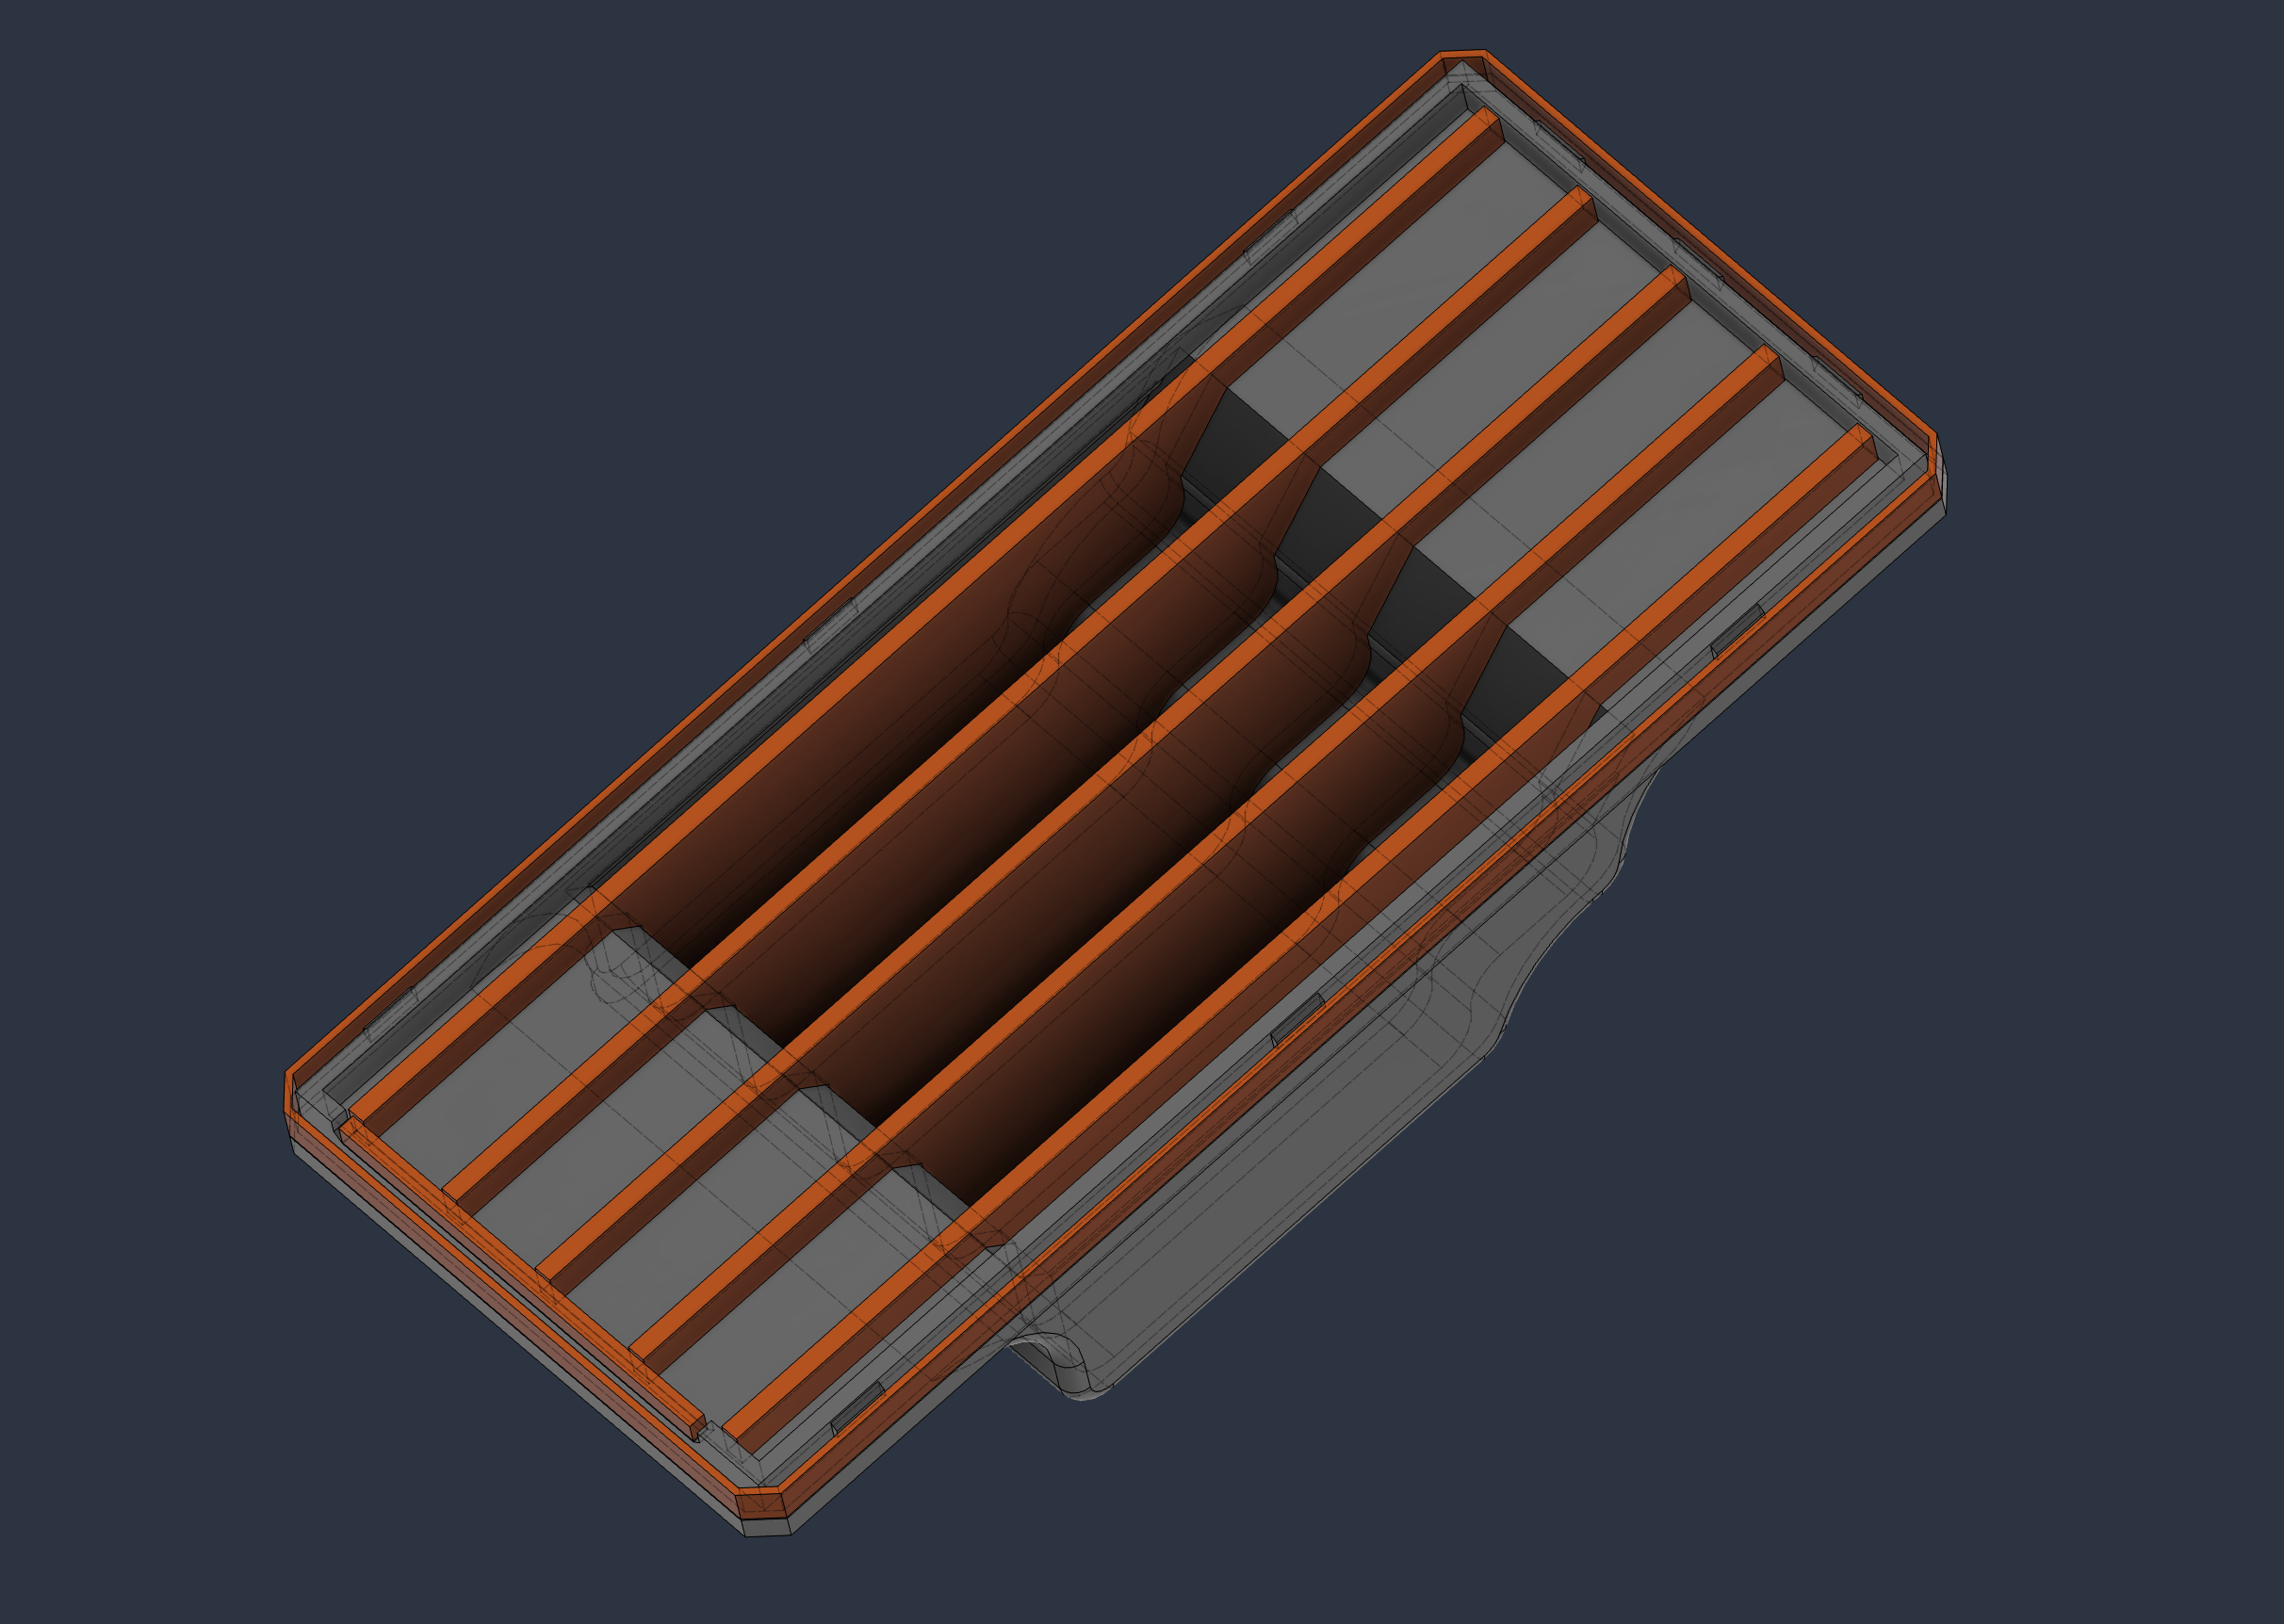
For increased clarity of the text in multicolor mode, be sure to turn on “Only one perimeter” and “Only one perimeter on first layer” in your slicer print profile settings. You can use the Search feature in your slicer to find these options if you’re not familiar with them, then orient it face down and print! Printing the back of the badgeThe pack of the badge has supports already integrated in the design. Slicer-generated supports shouldn’t be needed (but if you leave them on, it wouldn’t be the end of the world, you’ll just have to do some more clean-up). When you add the back of the badge to your slicer, it may warn that it contains several objects and offer to load as a single object with multiple parts. Answer yes! We’ll be taking advantage of that.
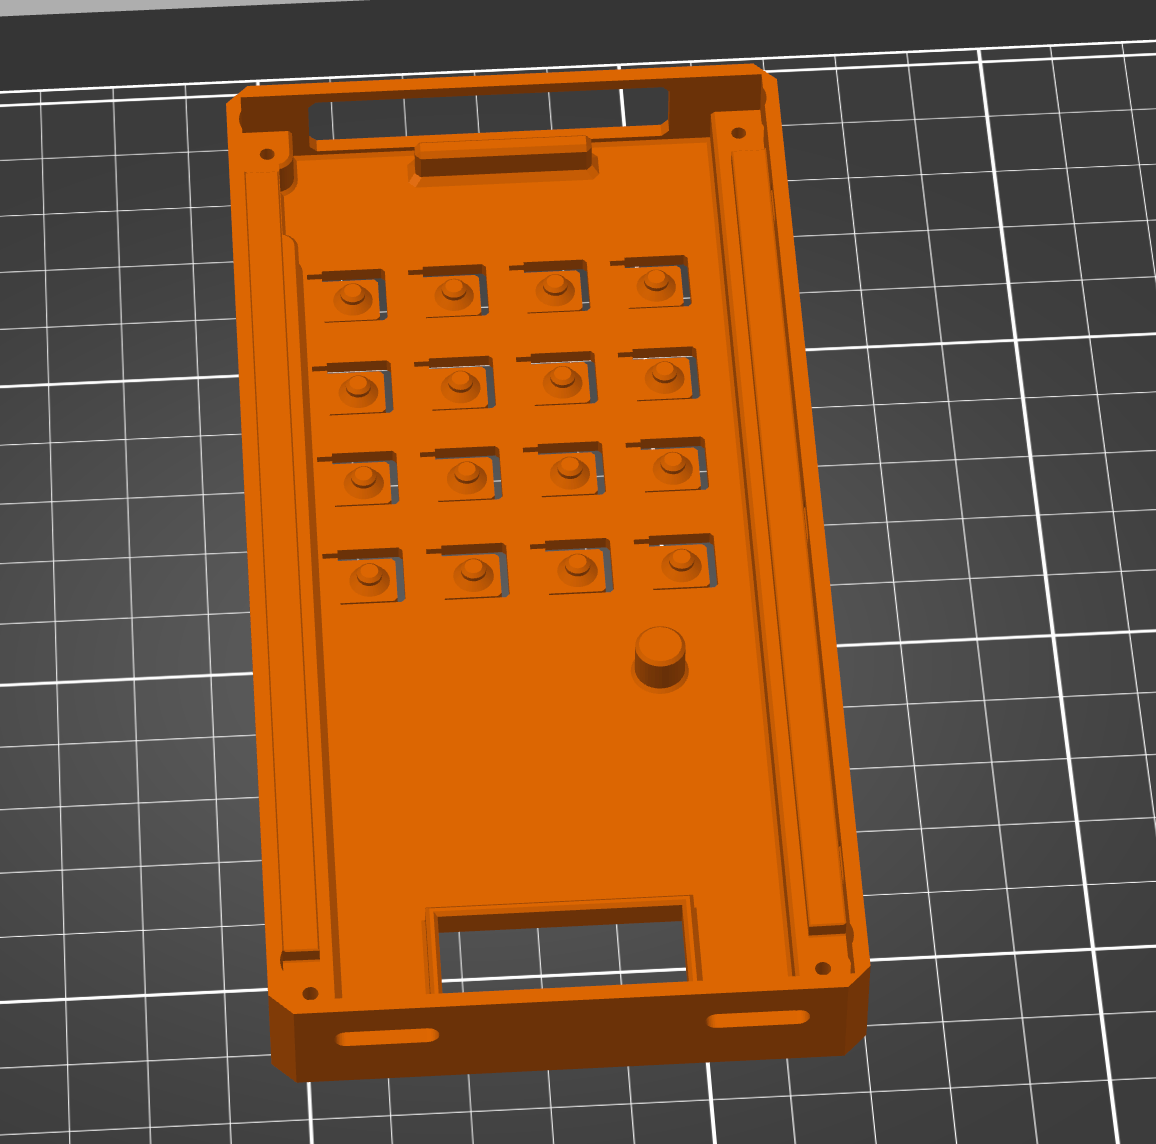
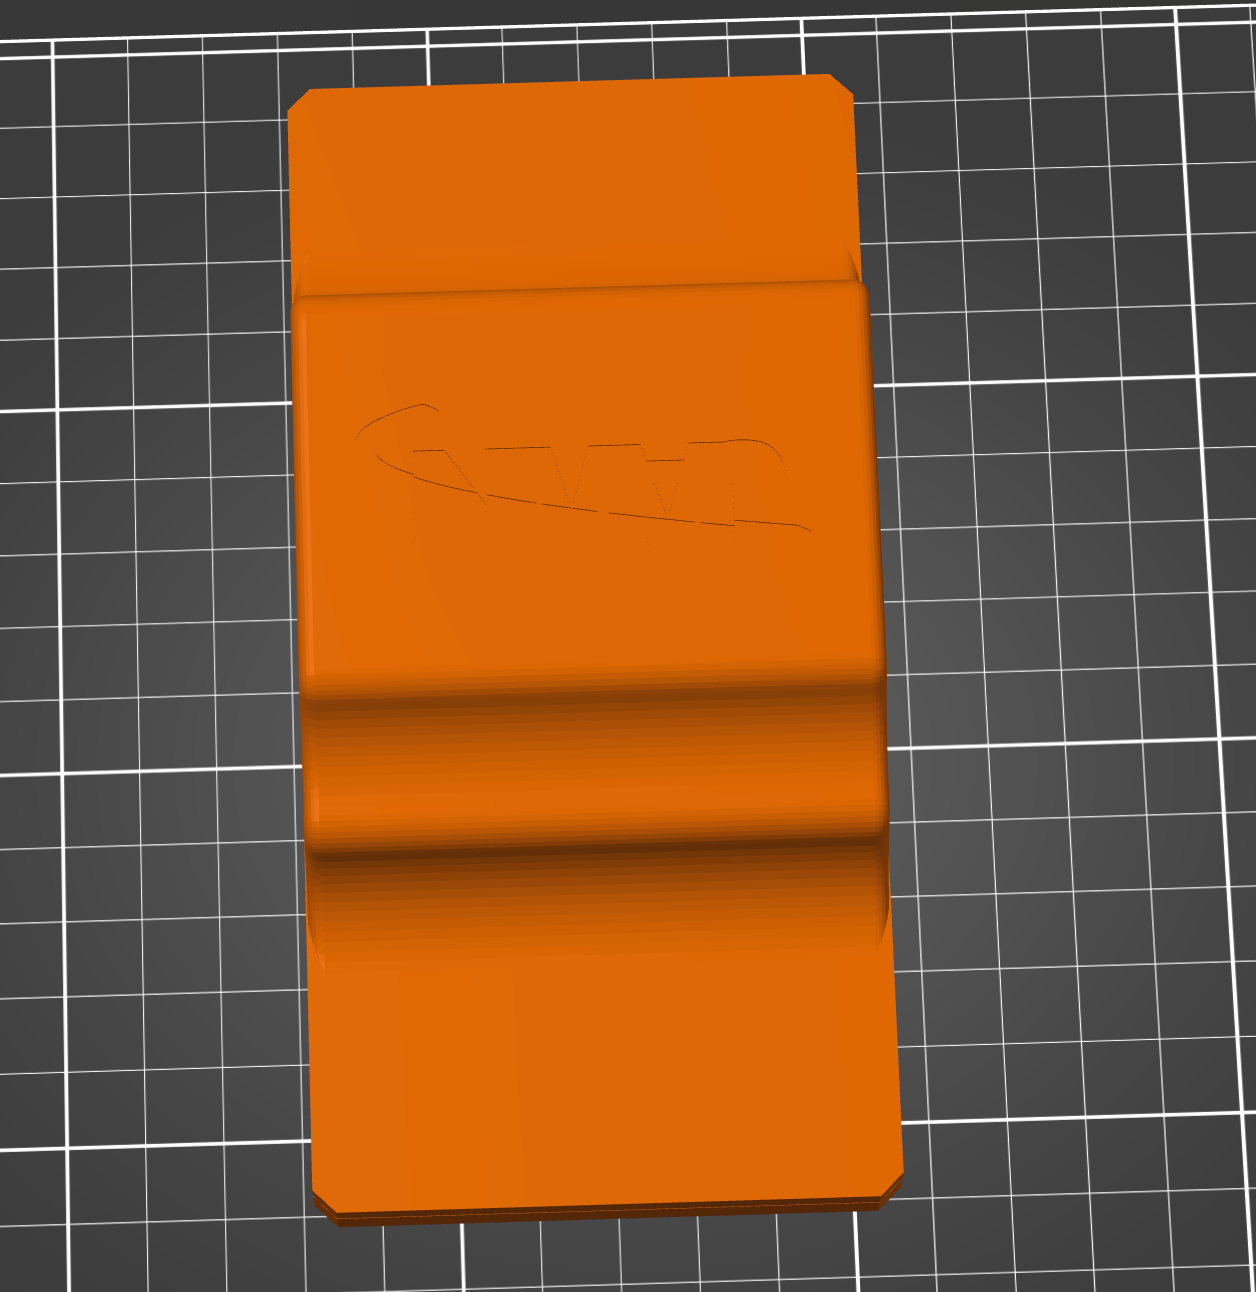
The back of the badge should be placed “cup side” down in the slicer:
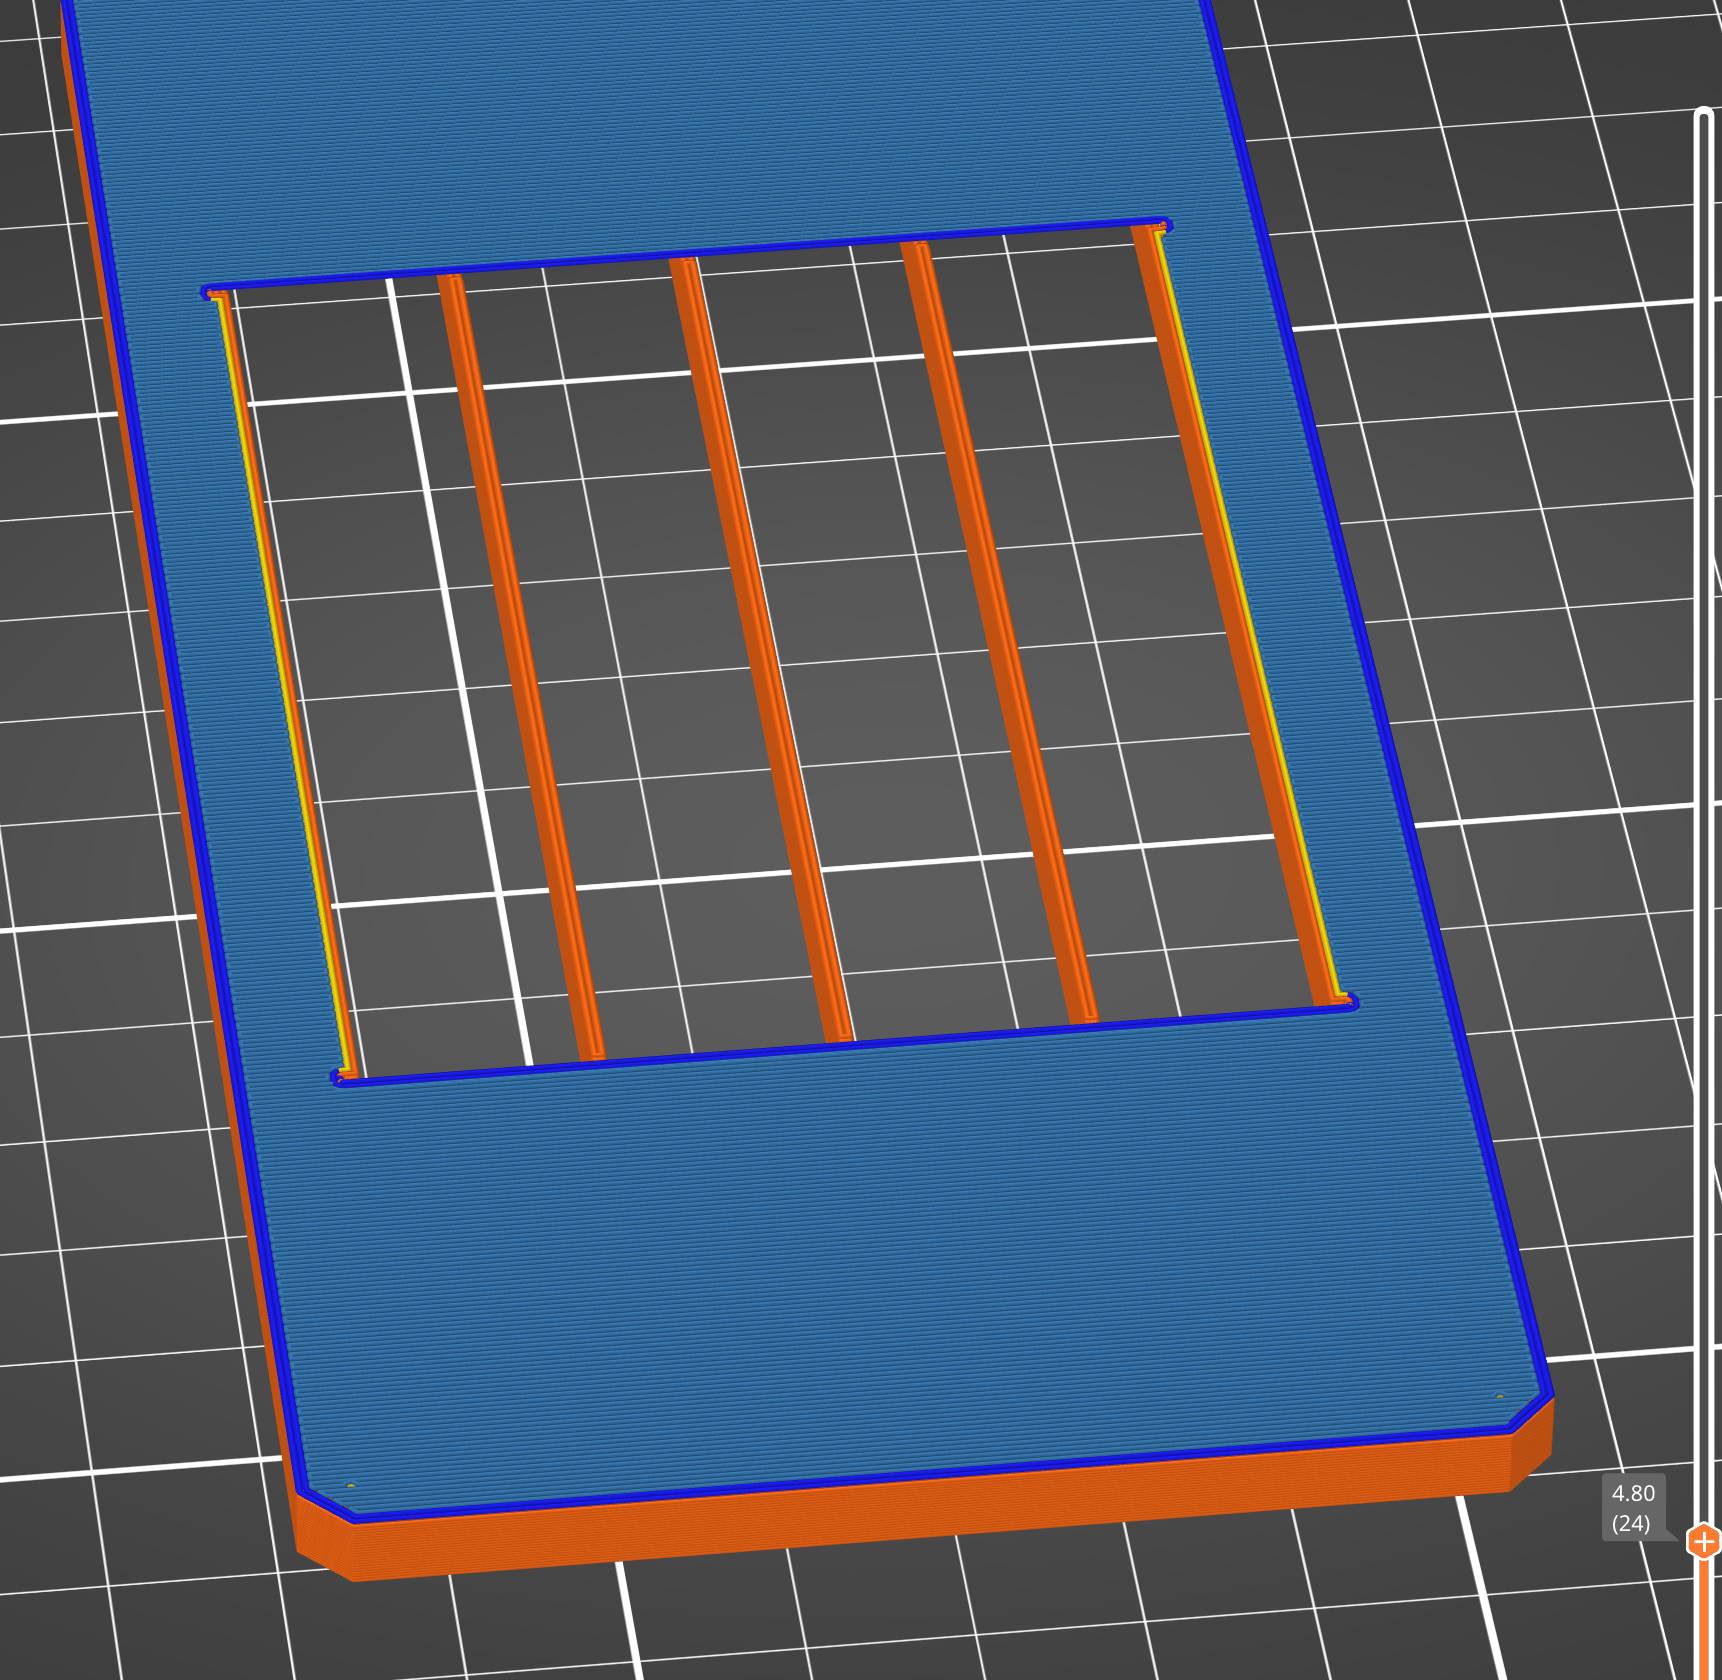
If you have a multi-color printer, be sure to set all the supports to the same color as the shell. The final setting to make sure you enable is “Bridging Angle” in your print settings. By default this is set to “0”. Change it to “180”. You can find this option with the Search tool in your slicer settings. Make sure the bridge angle is set by slicing and examining the first layers on top of the supports. If you zoom in on the sliced badge, you want to make sure that the lines are going across the supports, not along the supports.
|
JawnCon™0x3 JawnCon™0x2 JawnCon™0x1 JawnCon™0x0 Code Of Conduct FAQ CFP Sponsor Tickets Schedule Map Schwag Mastodon Discord YouTube Thanks